
AI Reading
Quick summary of this article
Cubit is a simplified version of the BLoC state management pattern in Flutter, allowing you to emit new states directly without needing separate event classes. It's best suited for simple to moderately complex state management scenarios where the full BLoC pattern would be too heavy.
- Cubit uses the
emit()function to send new states directly to the UI, unlike full BLoC which requires separate event classes - BlocProvider wraps the widget tree to make the Cubit instance available to all child widgets
- BlocBuilder listens for state changes and rebuilds the UI automatically when a new state is emitted
- Use
context.read<CounterCubit>()to access and call methods on the Cubit from any widget - The Cubit manages a specific data type (like
int) and provides access to the current state via thestateproperty
🧱 What is a Cubit?
Cubit is a lightweight version of BLoC that allows you to emit new states directly without defining separate events. It’s ideal for simple to moderately complex state management where the full BLoC pattern may feel too heavy.
🔧 Creating a Cubit
Let’s start by creating a basic Cubit that manages an integer value — like a counter.
📁 counter_cubit.dart
import 'package:flutter_bloc/flutter_bloc.dart';

class CounterCubit extends Cubit {
  CounterCubit() : super(0);

  void increment() => emit(state + 1);
  void decrement() => emit(state - 1);
}
📌 Breakdown:
Cubit<int>: This cubit manages anintstate.emit(): Used to emit a new state to the UI.state: Gives access to the current state.
🔁 Emitting Simple States (Counter Example)
Every time you call increment() or decrement(), the Cubit emits a new state, which the UI can listen to and rebuild itself accordingly.
🎯 Using Cubit with BlocProvider and BlocBuilder
To use the Cubit in your Flutter app, wrap the widget tree with a BlocProvider and use BlocBuilder to rebuild the UI when the state changes.
🧩 Example: Counter App UI
import 'package:flutter/material.dart';
import 'package:flutter_bloc/flutter_bloc.dart';
import 'counter_cubit.dart';

void main() => runApp(MyApp());

class MyApp extends StatelessWidget {
  @override
  Widget build(BuildContext context) {
    return MaterialApp(
      home: BlocProvider(
        create: (_) => CounterCubit(),
        child: CounterPage(),
      ),
    );
  }
}

class CounterPage extends StatelessWidget {
  @override
  Widget build(BuildContext context) {
    return Scaffold(
      appBar: AppBar(title: Text('Cubit Counter')),
      body: Center(
        child: BlocBuilder<CounterCubit, int>(
          builder: (context, count) {
            return Text('Count: $count', style: TextStyle(fontSize: 30));
          },
        ),
      ),
      floatingActionButton: Row(
        mainAxisAlignment: MainAxisAlignment.end,
        children: [
          FloatingActionButton(
            heroTag: 'dec',
            onPressed: () => context.read().decrement(),
            child: Icon(Icons.remove),
          ),
          SizedBox(width: 10),
          FloatingActionButton(
            heroTag: 'inc',
            onPressed: () => context.read().increment(),
            child: Icon(Icons.add),
          ),
        ],
      ),
    );
  }
}
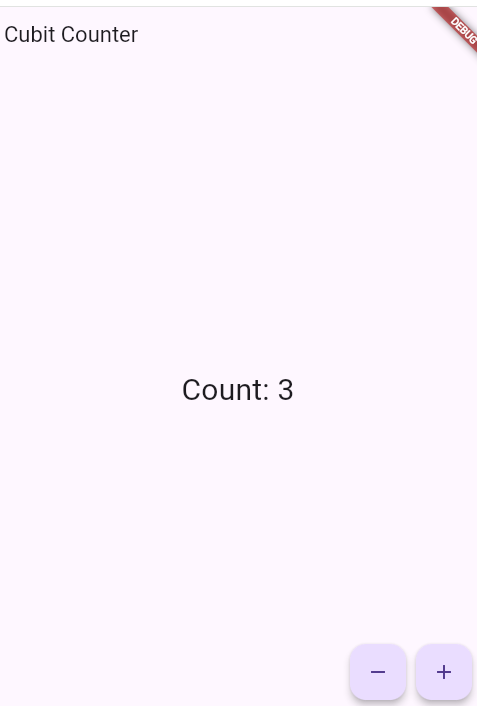
💡 Summary
| Concept | Description |
|---|---|
Cubit |
Simplified version of BLoC |
emit() |
Sends a new state |
BlocProvider |
Provides the Cubit to the widget tree |
BlocBuilder |
Rebuilds UI when state changes |
context.read |
Accesses the Cubit instance |
🚀 Coming Up Next:
Part 5 – Implementing Full BLoC (Event-Based)
We’ll now level up and learn how to use Events + States together using the full BLoC pattern.